Neovim configuration
A minimal Neovim configuration written in lua
 |
|  |
|
|
|  |
|  |
|
|
|  |
|  |
|
|
|  |
|  |
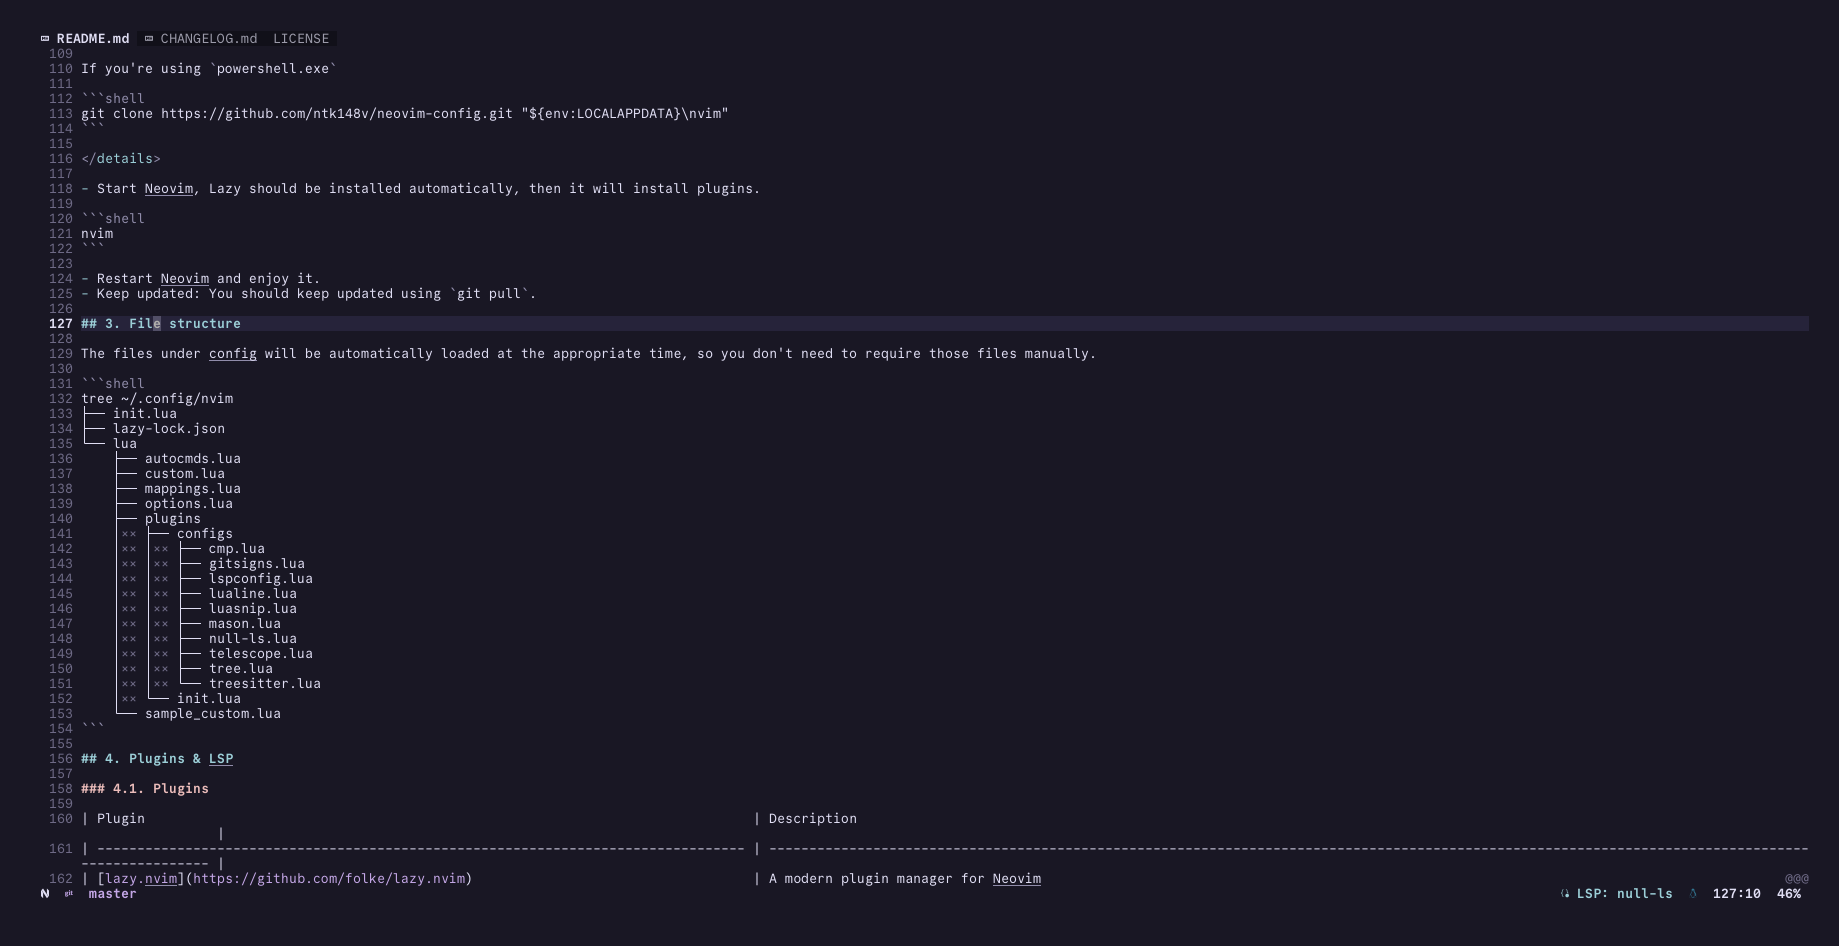
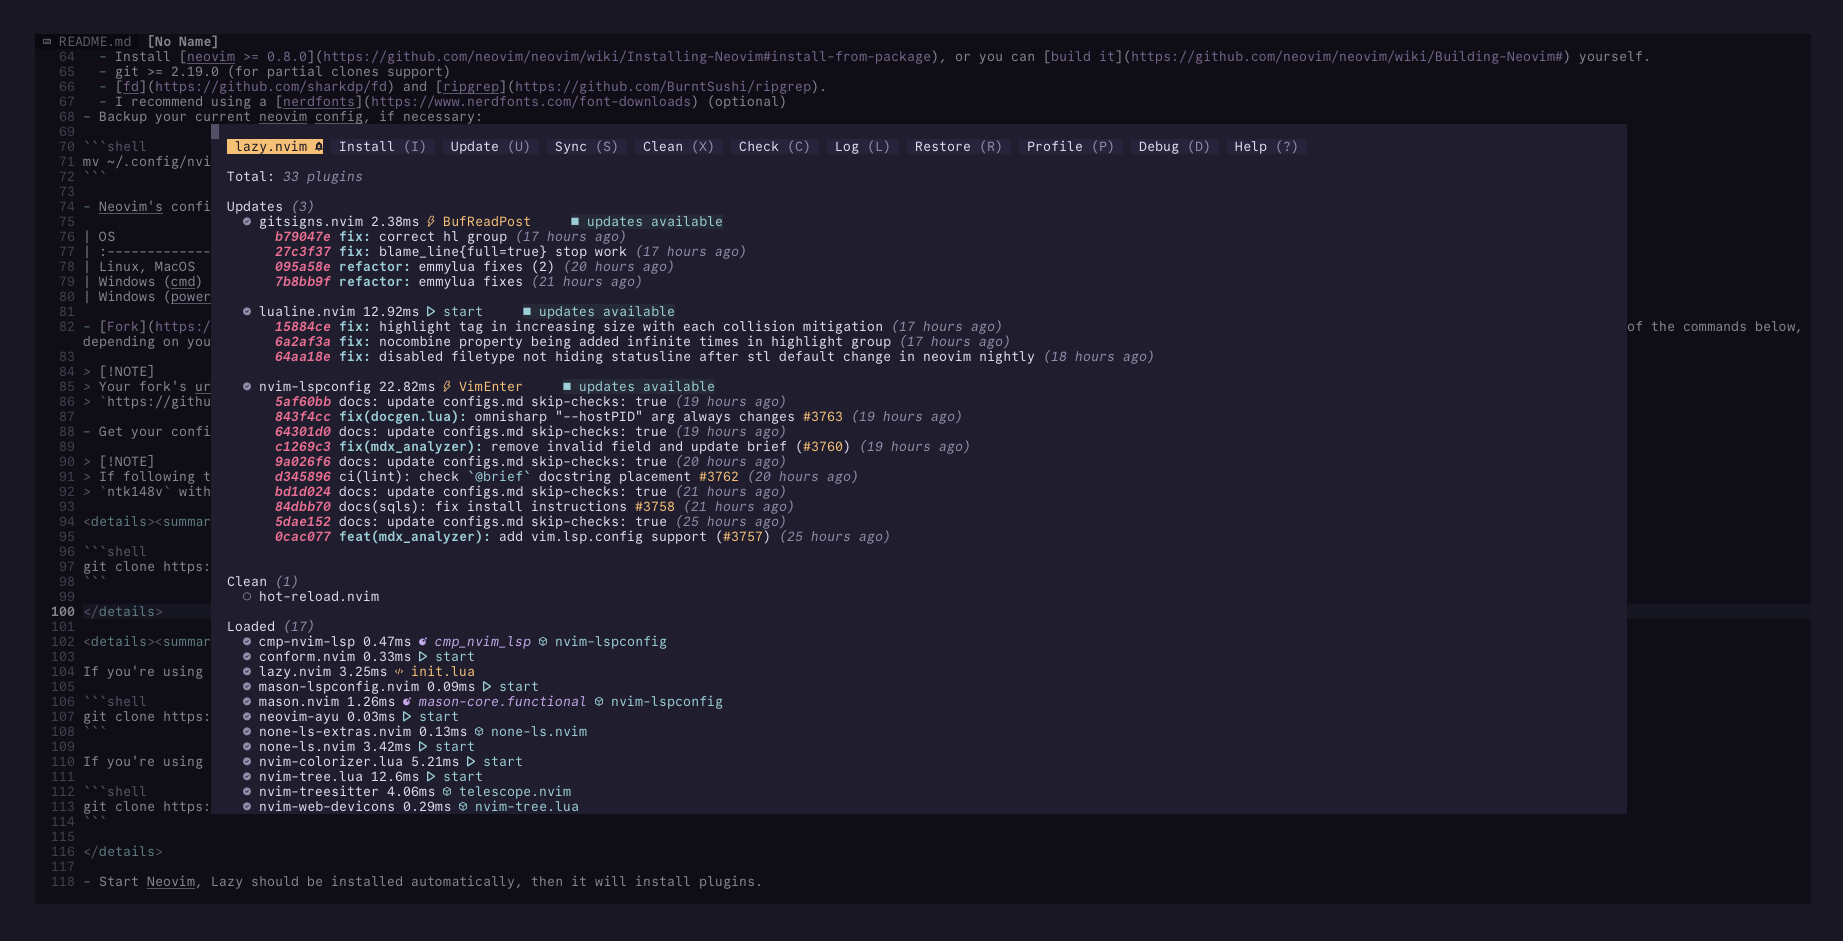
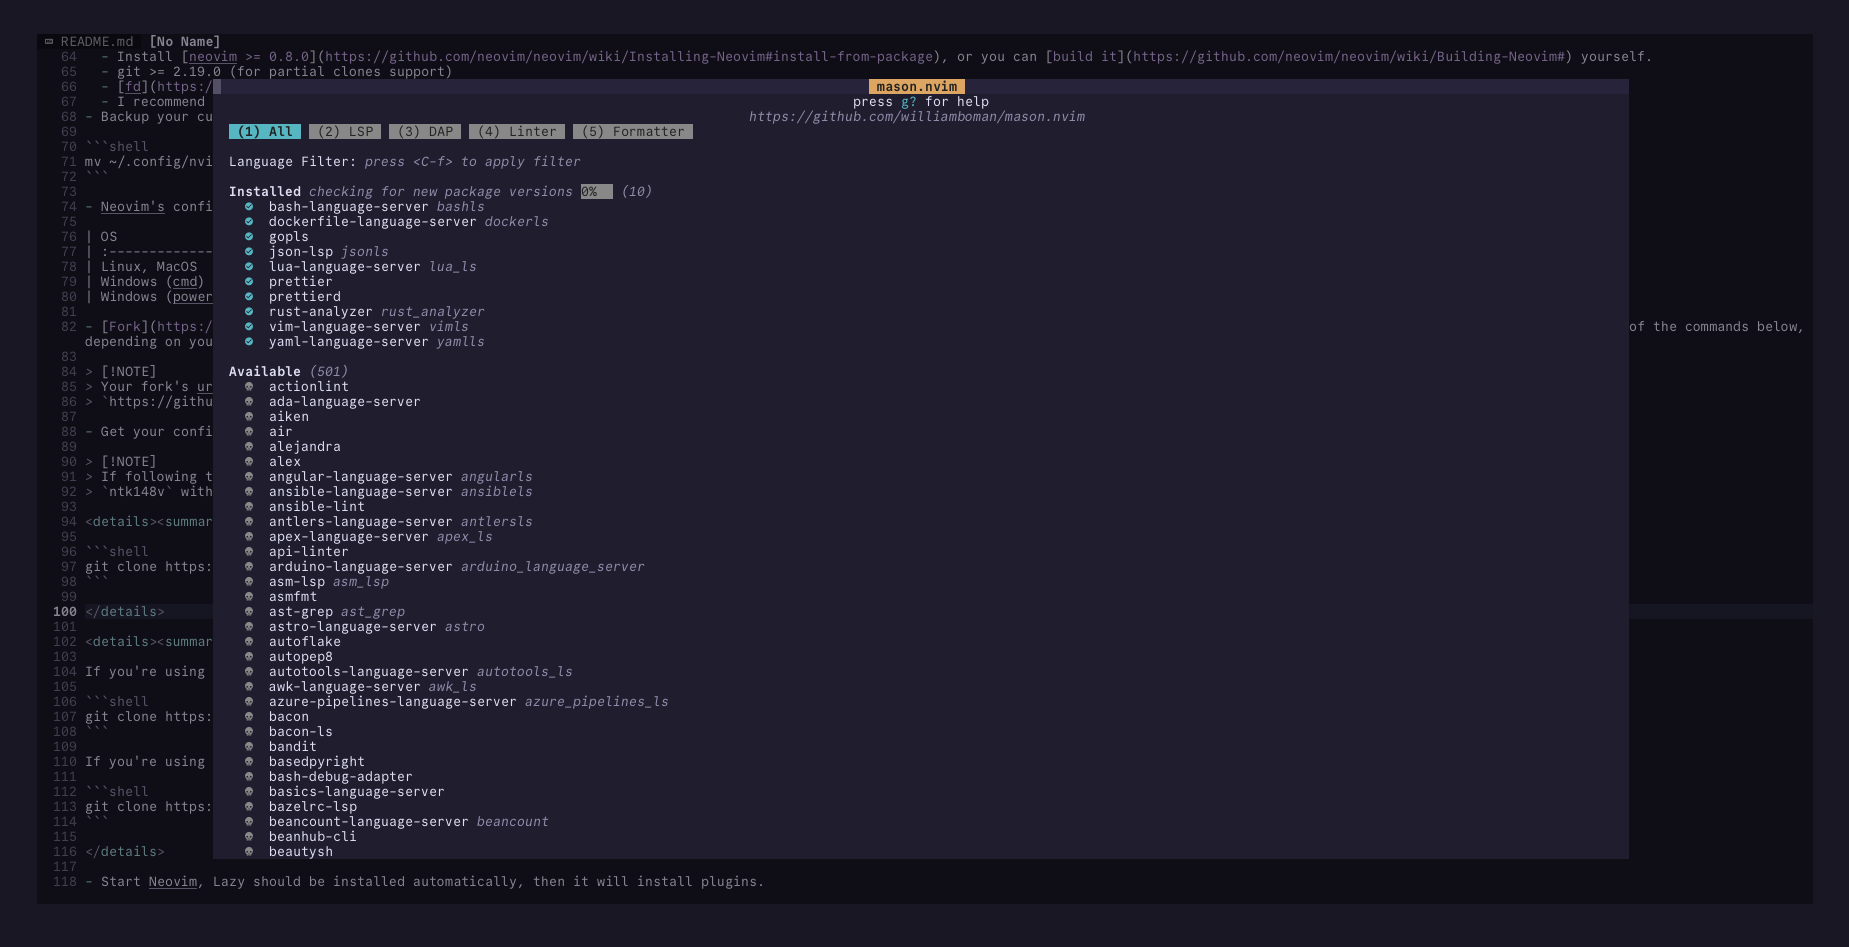
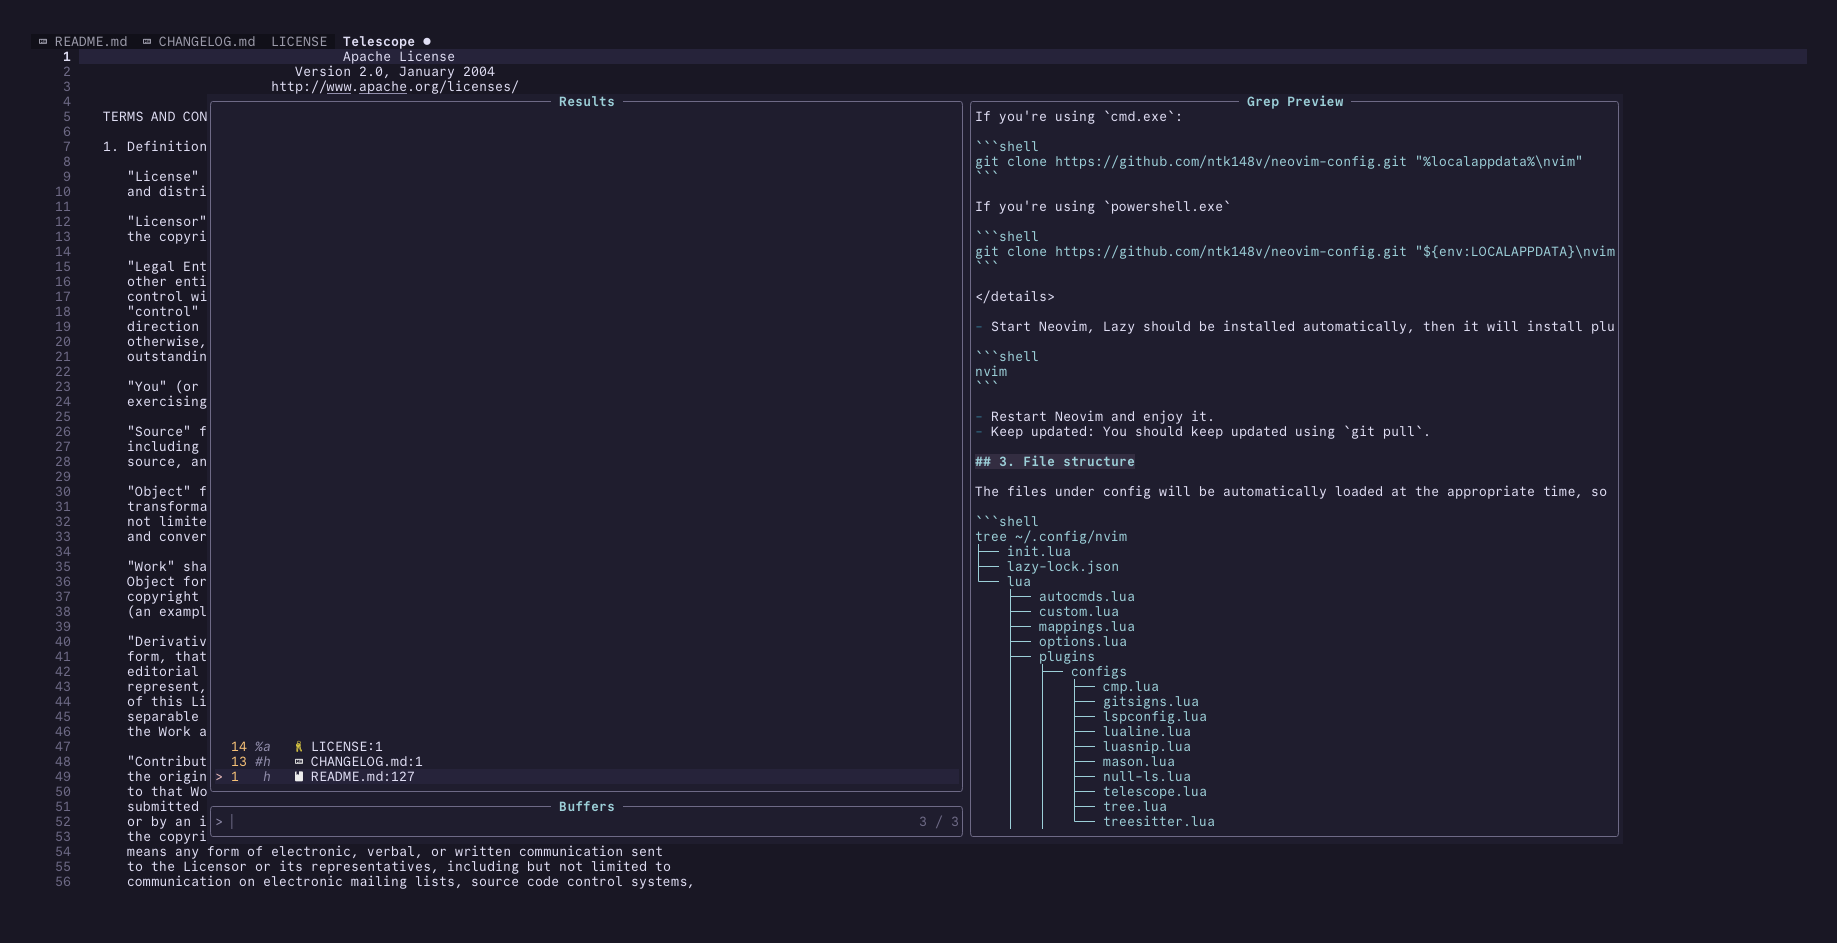
## 3. Installation
- Requirements:
- Install [neovim >= 0.8.0](https://github.com/neovim/neovim/wiki/Installing-Neovim#install-from-package), or you can [build it](https://github.com/neovim/neovim/wiki/Building-Neovim#) yourself.
- git >= 2.19.0 (for partial clones support)
- [fd](https://github.com/sharkdp/fd) and [ripgrep](https://github.com/BurntSushi/ripgrep).
- I recommend using a [nerdfonts](https://www.nerdfonts.com/font-downloads) (optional)
- Backup your current neovim config, if necessary:
```shell
mv ~/.config/nvim ~/.config/nvim.bak
```
- Neovim's configurations are located under the following paths, depending on your OS:
| OS | PATH |
| :------------------- | :---------------------------------------- |
| Linux, MacOS | `$XDG_CONFIG_HOME/nvim`, `~/.config/nvim` |
| Windows (cmd) | `%localappdata%\nvim\` |
| Windows (powershell) | `$env:LOCALAPPDATA\nvim\` |
- [Fork](https://docs.github.com/en/get-started/quickstart/fork-a-repo) this repo so that you have your own copy that you can modify, then install by cloning the fork to your machine using one of the commands below, depending on your OS.
> [!NOTE]
> Your fork's url will be something like this:
> `https://github.com/
|
## 3. Installation
- Requirements:
- Install [neovim >= 0.8.0](https://github.com/neovim/neovim/wiki/Installing-Neovim#install-from-package), or you can [build it](https://github.com/neovim/neovim/wiki/Building-Neovim#) yourself.
- git >= 2.19.0 (for partial clones support)
- [fd](https://github.com/sharkdp/fd) and [ripgrep](https://github.com/BurntSushi/ripgrep).
- I recommend using a [nerdfonts](https://www.nerdfonts.com/font-downloads) (optional)
- Backup your current neovim config, if necessary:
```shell
mv ~/.config/nvim ~/.config/nvim.bak
```
- Neovim's configurations are located under the following paths, depending on your OS:
| OS | PATH |
| :------------------- | :---------------------------------------- |
| Linux, MacOS | `$XDG_CONFIG_HOME/nvim`, `~/.config/nvim` |
| Windows (cmd) | `%localappdata%\nvim\` |
| Windows (powershell) | `$env:LOCALAPPDATA\nvim\` |
- [Fork](https://docs.github.com/en/get-started/quickstart/fork-a-repo) this repo so that you have your own copy that you can modify, then install by cloning the fork to your machine using one of the commands below, depending on your OS.
> [!NOTE]
> Your fork's url will be something like this:
> `https://github.com/Copyright © 2022-present Kien Nguyen Tuan
